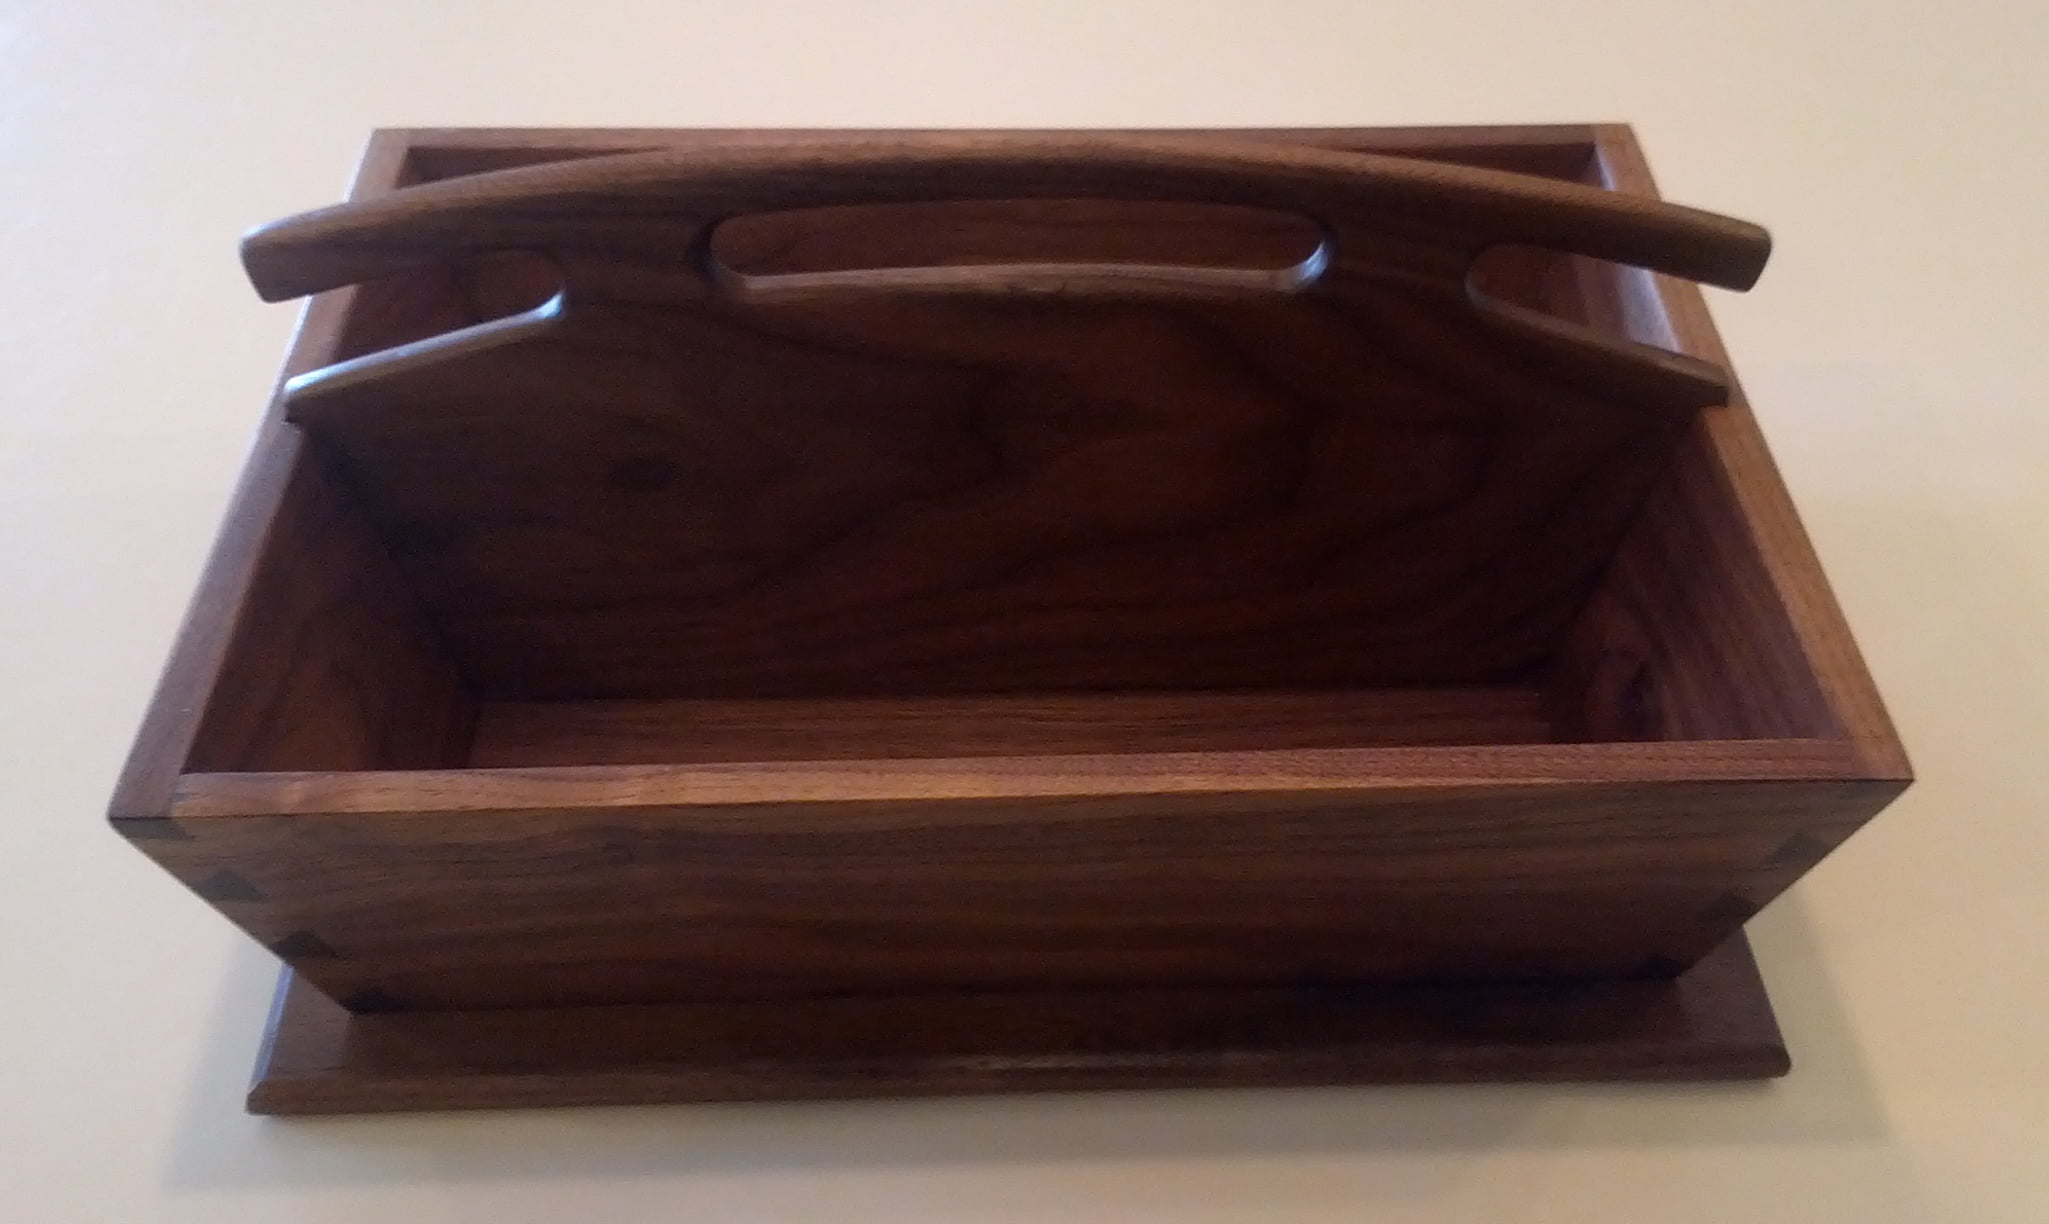
I first saw this project in Popular Woodworking Magazine April 2013. I liked the look of the tray and I thought it could make a good gift one day, but my main interest was the dovetails on those compound angled corners. I have done regular dovetails before but I thought this could be a challenging project to attempt, so I decided to give it a try. The sample from the magazine was made out of poplar but I had some walnut already in my shop that I thought could look very nice.
So I started reading the article to figure out how to make the tray, and my first problem was how to cut the compounded angles on the four side pieces. The article doesn’t go into any detail on how to do that, so I had to find another reference.
The best reference I found was an article from Fine Woodworking Magazine #158 titled Compound Angles Without Math by Steve Brown (you will need membership to see the full article). In the article Steve Brown explains how to create a reference block and how to use it to set your miter gauge and blade angles in your table saw to cut your tray side pieces. It makes the process very simple and very accurate. There is also an episode of Rough Cut Woodworking with Tommy Mac – Season 1 Episode 9, where Tommy MacDonald also uses the same type of reference block to cut the pieces for a similar tray, that episode is also a very good reference. Another possible use for that reference block is to help you paring your dovetails later.
I was able to cut my tray sides without a problem using the reference block technique, and then my next problem: how to cut the dovetails on those angled side pieces? My project sat in my workshop for a couple of months because I couldn’t find a good reference on how to do that.
I looked around and first I found the Tage Frid Teaches Woodworking, Joinery: Tools and Techniques book, but that was not clear enough for me to figure out how to cut the dovetails. Next, since I am a member of Shannon Rogers’ Hand Tool School, I watched his semester 4 – lesson 3 video (you will need membership to watch the video) on compound dovetails joinery and that was a little better but I still didn’t quite get it. Lastly I purchased a copy of Chuck Bender’s Dovetail Mastery DVD and it finally clicked for me, the process Chuck follows in his video was simple for me to understand and I decided to give it a try with my piece, and yes I went ahead and did it on my final pieces (no guts no glory!).
A few hints about the process to cut the compound dovetails, first I needed three sliding bevels to make sure I was able to mark all the different angles needed without having to measure every time. Another issue was how to mark the baselines for the pins and tails when the ends of your pieces are at an angle different than 90 degrees, my solution was to use a cutting knife type marking gauge, if you push the blade out long enough it gives you enough clearance to be able to do the baselines marks using the angled ends as a reference. The last hint when marking/cutting compound dovetails is that when you are using the sliding bevels to mark the angles for your dovetails in any of your pieces, one side end is the mirror image of the other, so after you your angles in one side end you have to flip your sliding bevel before you mark the other side end.
I followed the Chuck Bender video to cut my dovetails, pins first in this case. Even though this type of dovetails are not easy to do, following Chuck’s technique made it easier than I had expected. I won’t lie, my dovetails were not perfect, but the small mistakes were easy to fix.
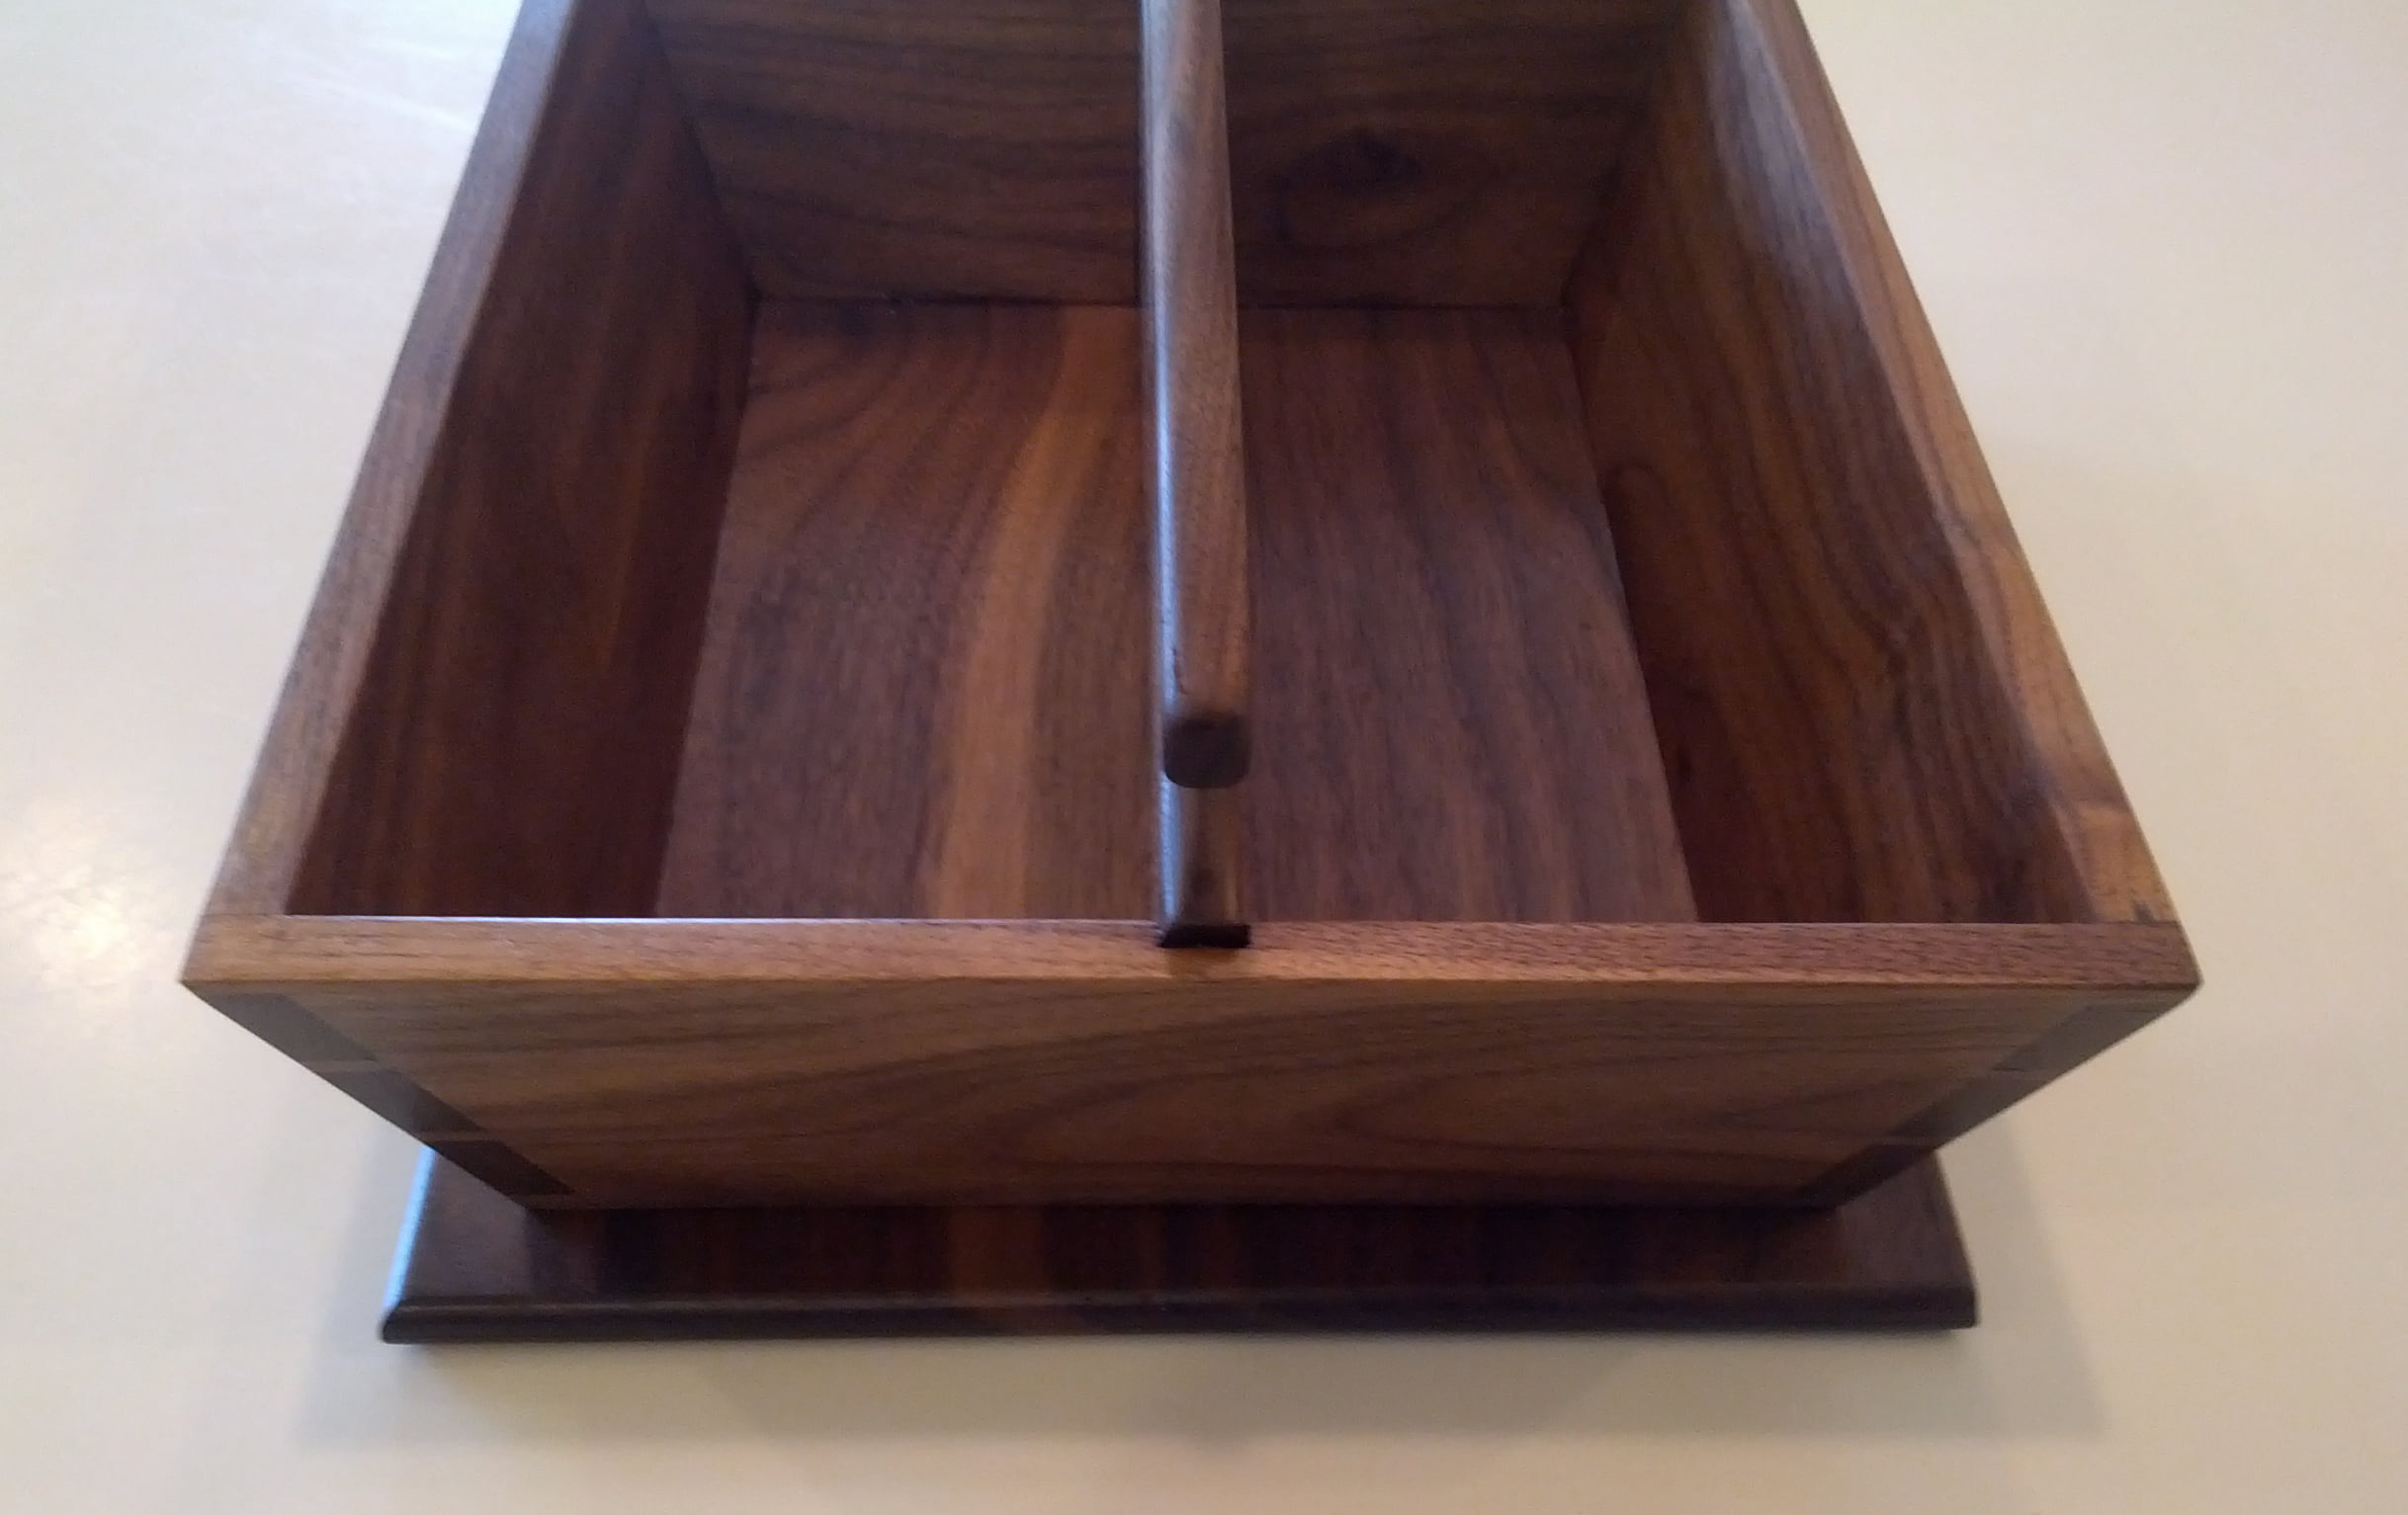
After all the complications learning how to do the dovetails, the next part was to prepare the bottom, which was a simple piece to make. The bottom was attached to the piece using cut nails, at first I thought I was going to like leaving the cut nail heads visible, but I really didn’t like that look and I ended setting the heads and covering the holes, which wasn’t a perfect solution either but at the end looked better.
The last part to make was the tray divider / handle. The magazine article provided a template I was able to use to layout the handle part which was easy to make using my band saw and drill press to remove the bulk of the material and then a combination of spokeshaves, rasps, files and sand paper to give it the right shape. There was just one feature from the Popular Woodworking magazine I didn’t reproduce, and that was the dowel shape of the handle. I like the dowel shape from the magazine article, but I wasn’t brave enough to attempt to do it myself, maybe next time.
The last part of the project was the finishing, for that I decided to use Minwax© Antique Oil. First I sanded the piece up to 400 grid, then I applied the first coat of the oil (which it is my understanding is really a combination oil and varnish) waited about 10 minutes and removed the excess and buffed with a clean cloth. I waited 24 hours before applying the second coat, I started by soaking the piece in oil again, waited about 5 minutes and then I wet sanded the whole piece with 600 grit sand paper (making sure I kept it wet), waited another 5 minutes and removed the excess and buffed with a clean cloth. For the third coat I followed the same process as the second coat but wet sanded with 800 grit paper this time. I let the piece sit for another 24 hours and it was ready for use.